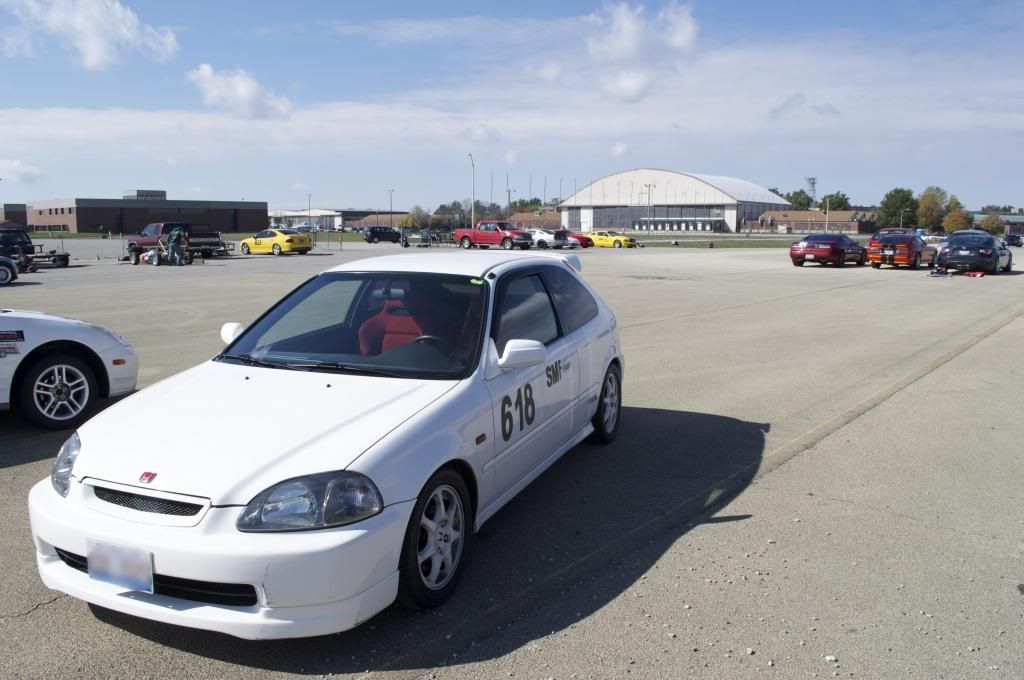
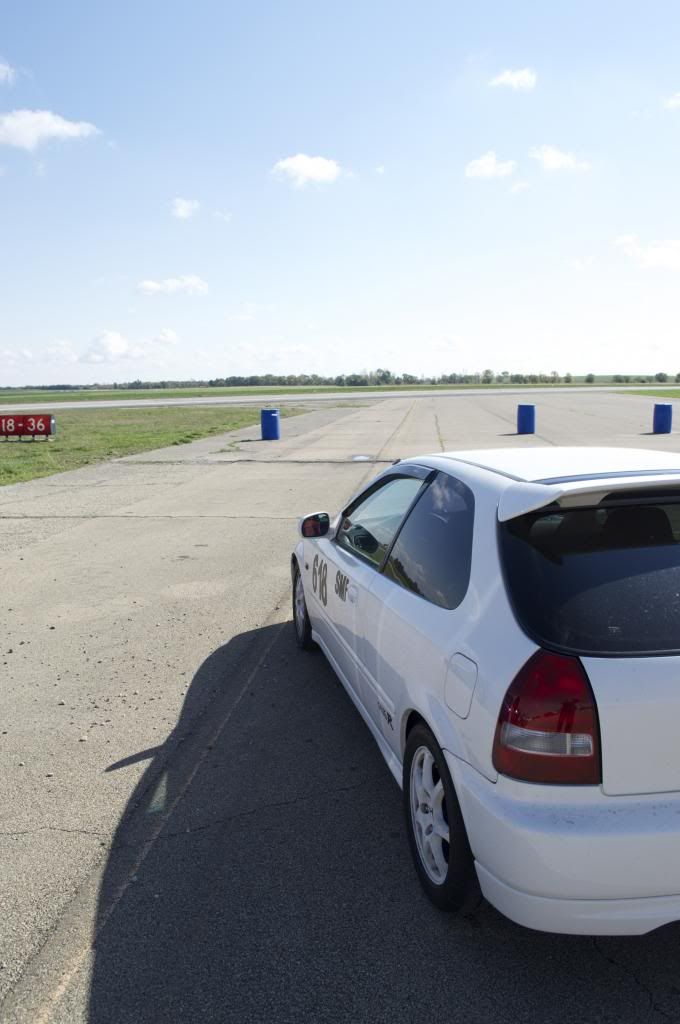
10/19/13 was the SMF debut for the BME #618 car. Even though it is the end of the season and the car will more than likely be stored until March, I wanted to get it out on the course to see what it could do. Check the handling characteristics, the response, powerband, etc. Simply put, the car won SMF out of 5 drivers in its class and placed 20th raw out of 64; 25th in PAX. While I was quite happy with the end result, there is still a lot of work to be done...
The car's entire setup is set to be a loose SMF competitor. And when I say loose, I mean LOOSE. Any amount of lift on a turn will swing the tail out, and it's going to take a lot of practice to really hammer down my technique and learn how to properly drive the car. There may be some setup tweaks for next season; added negative camber in the rear, disconnect the RSB for cold/wet days, etc.
Overall, I was extremely proud of the car and its capabilities. I look forward to pushing it a lot harder next season!
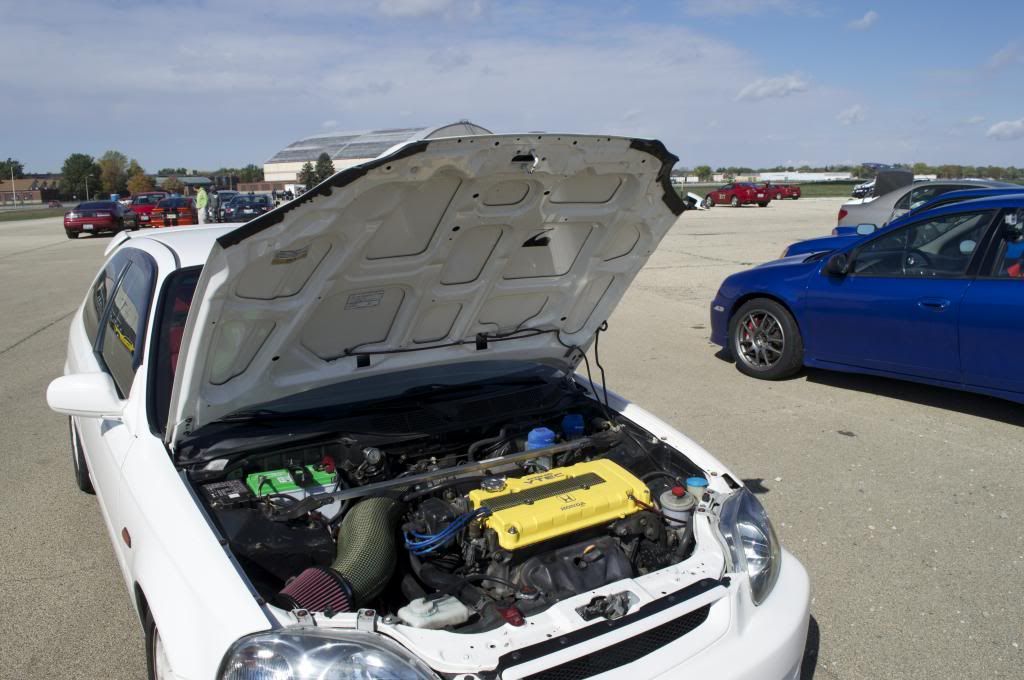
Enjoy the media!
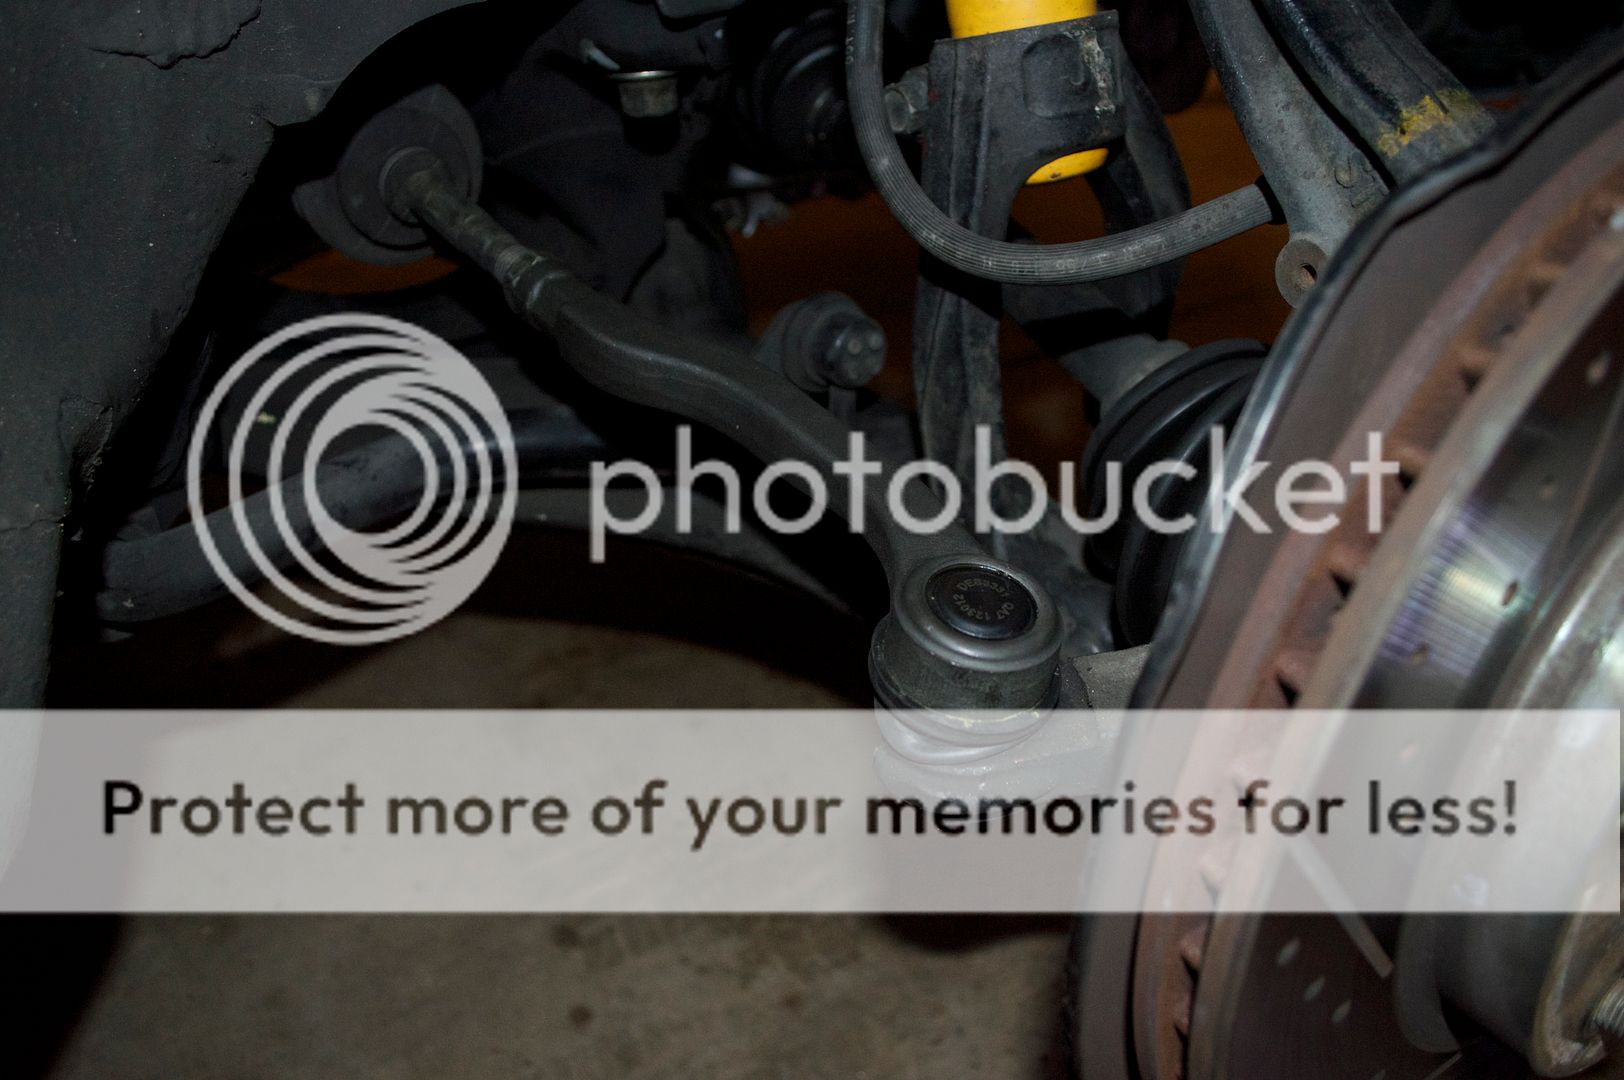
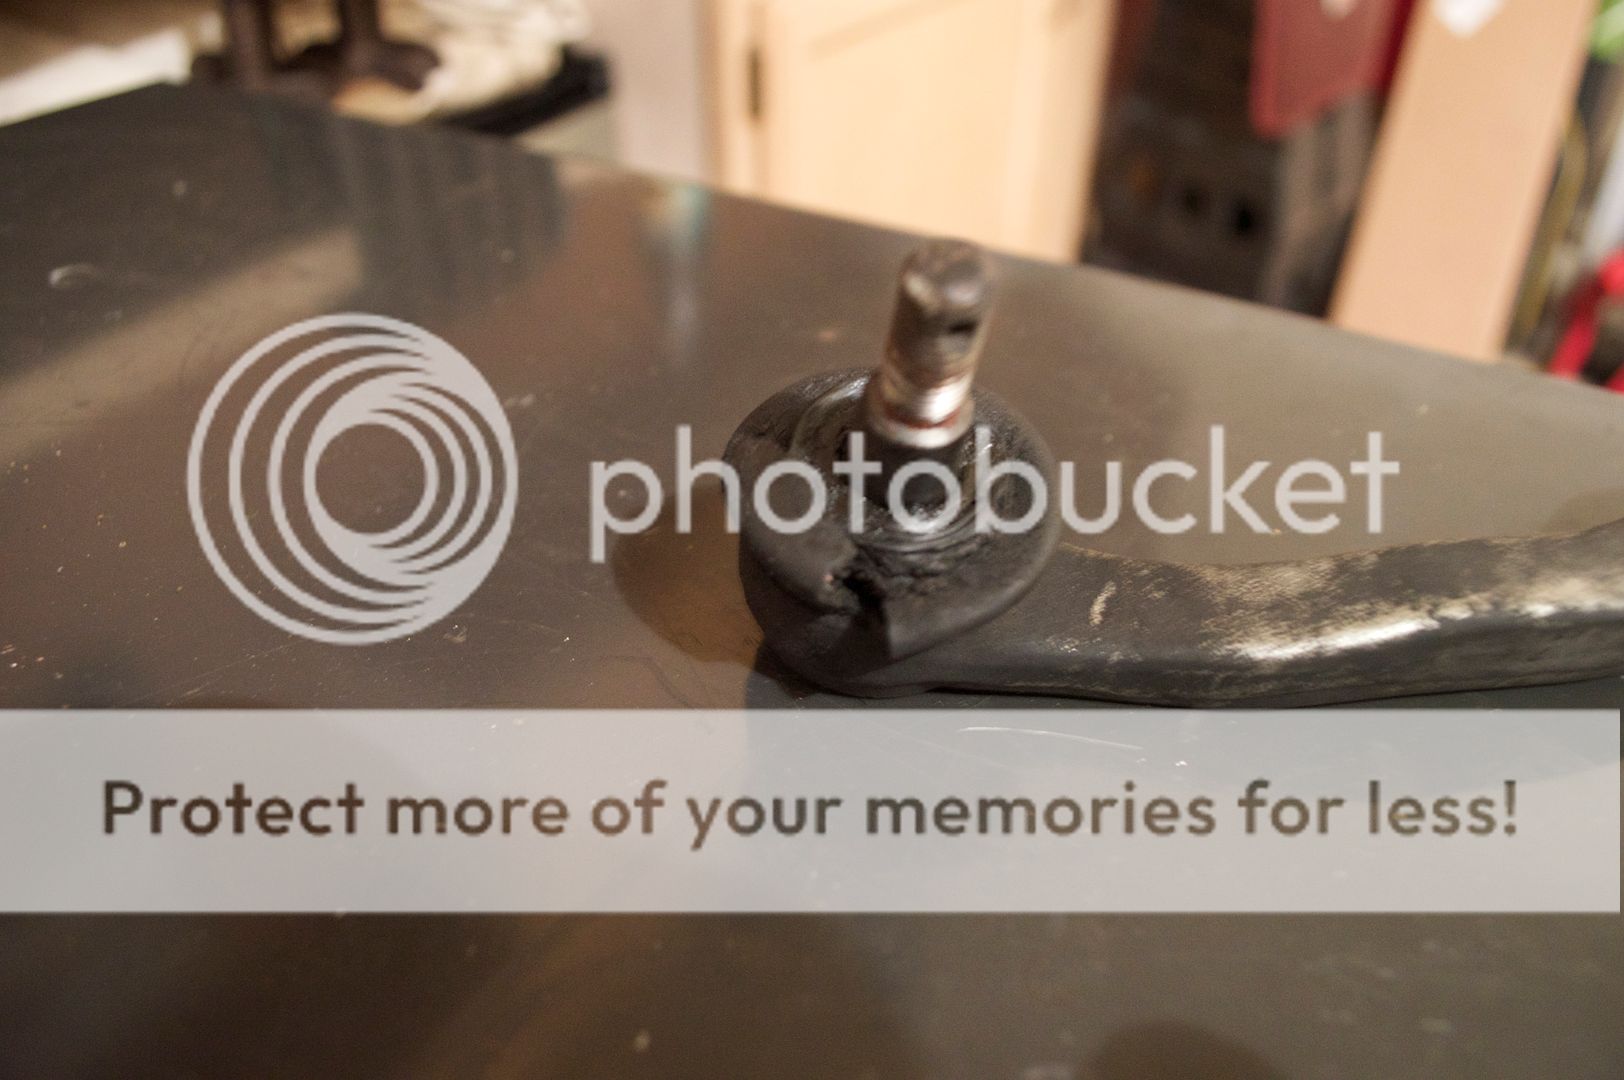
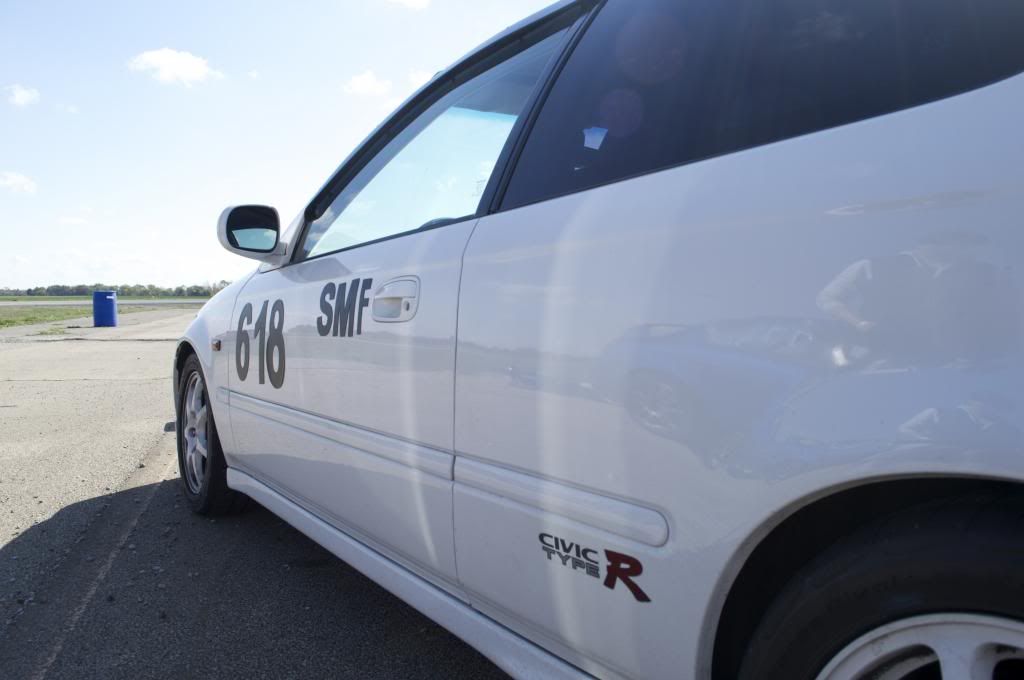
A little cone rash

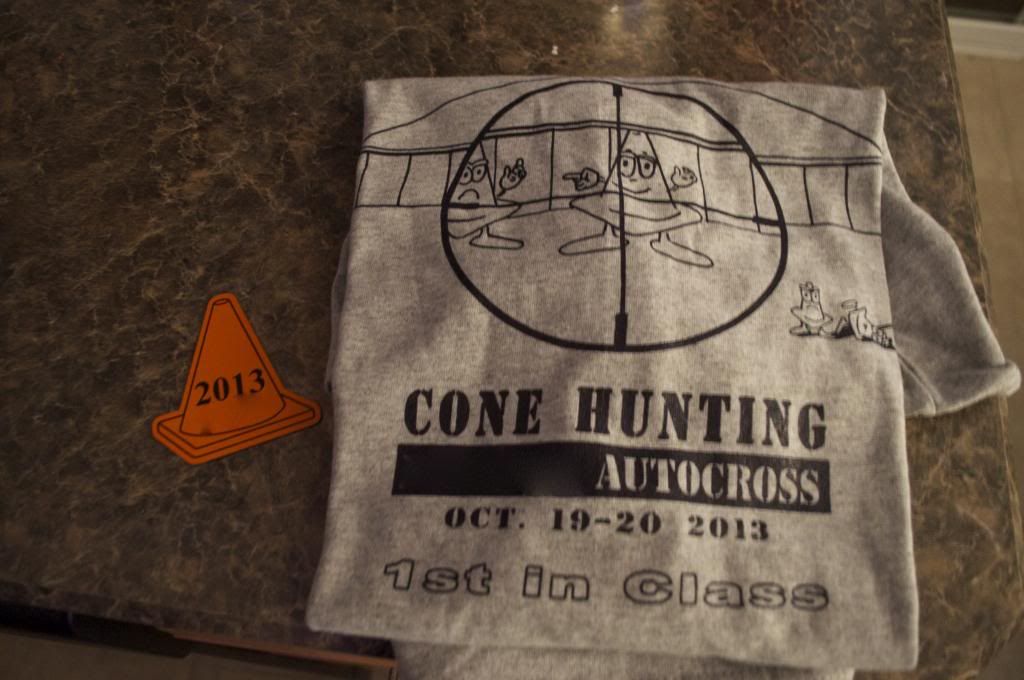
CTR's first trophy!